Overview
The cachetur.no trip assistant is an app (Android and iOS) that helps you execute a trip you have planned on the cachetur.no website. It is NOTa geocaching app nor is it where you do your trip planning and modification -- that is done on the web site: https://cachetur.no. The mantra is “Plan the trip on the web site, execute the trip with the Trip Assistant app”
...
Fun fact: You can get back to this primary menu screen by tapping a hamburger icon in the upper left. This is a play on the fact that User Interface designers often use three horizontal lines to get to the main set of menu options and refer to this as a hamburger menu. Well, cachetur.no is having a little fun and making it look like a real hamburger.
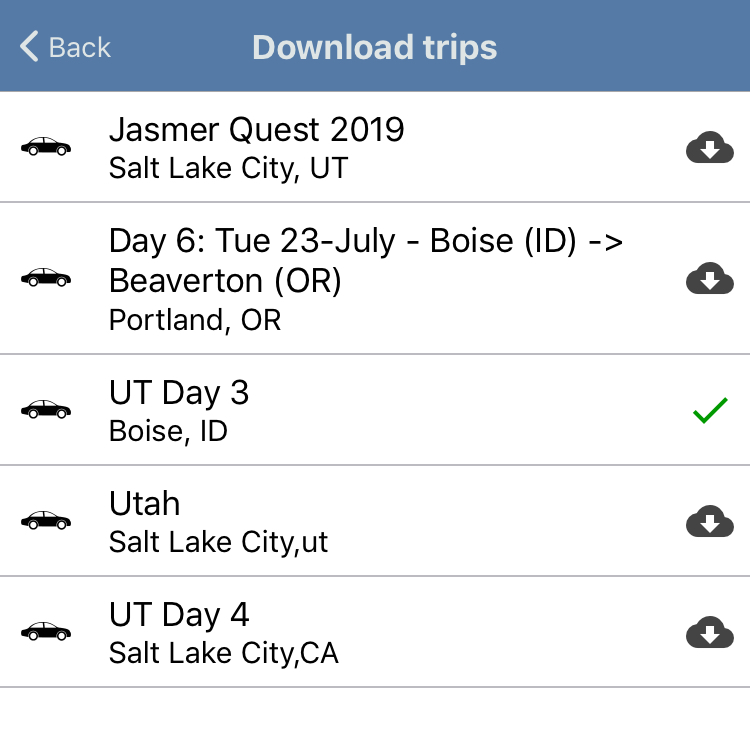
Initially, you will see that you have No trips. Tap “Download Trips” and you will get a list of all available trips you have planned on the cachetur.no web site. To download a trip, tap the down arrow in the cloud icon. It will change to a check mark after the trip is downloaded. You can download more trips or go directly to any trip you have already downloaded by tapping the entry.
To remove a trip from the list, swipe left and choose Delete. The swipe left will also offer a chance to refresh the data in the trip from cachetur.no.
A trip screen shows you all the caches and non-cache way points in the same order as your trip as planned on cachetur.no. If you have established ETAs on the web site, those will show here.
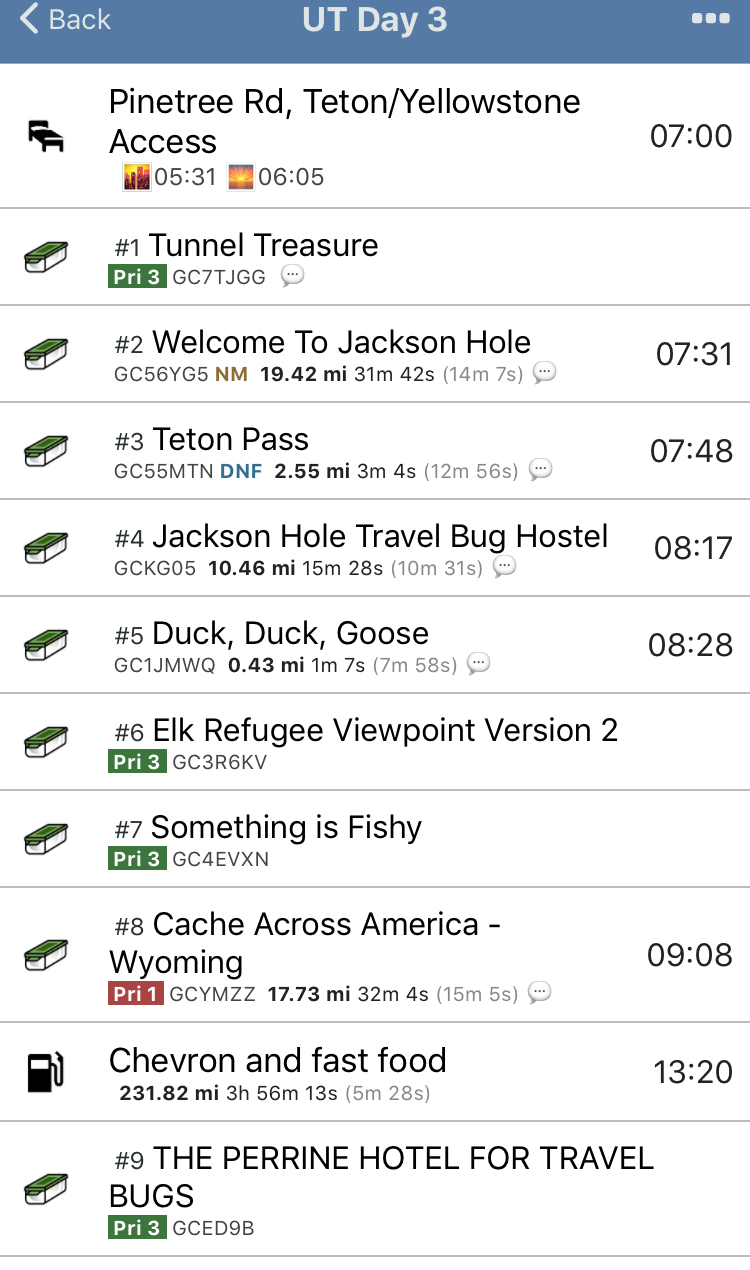
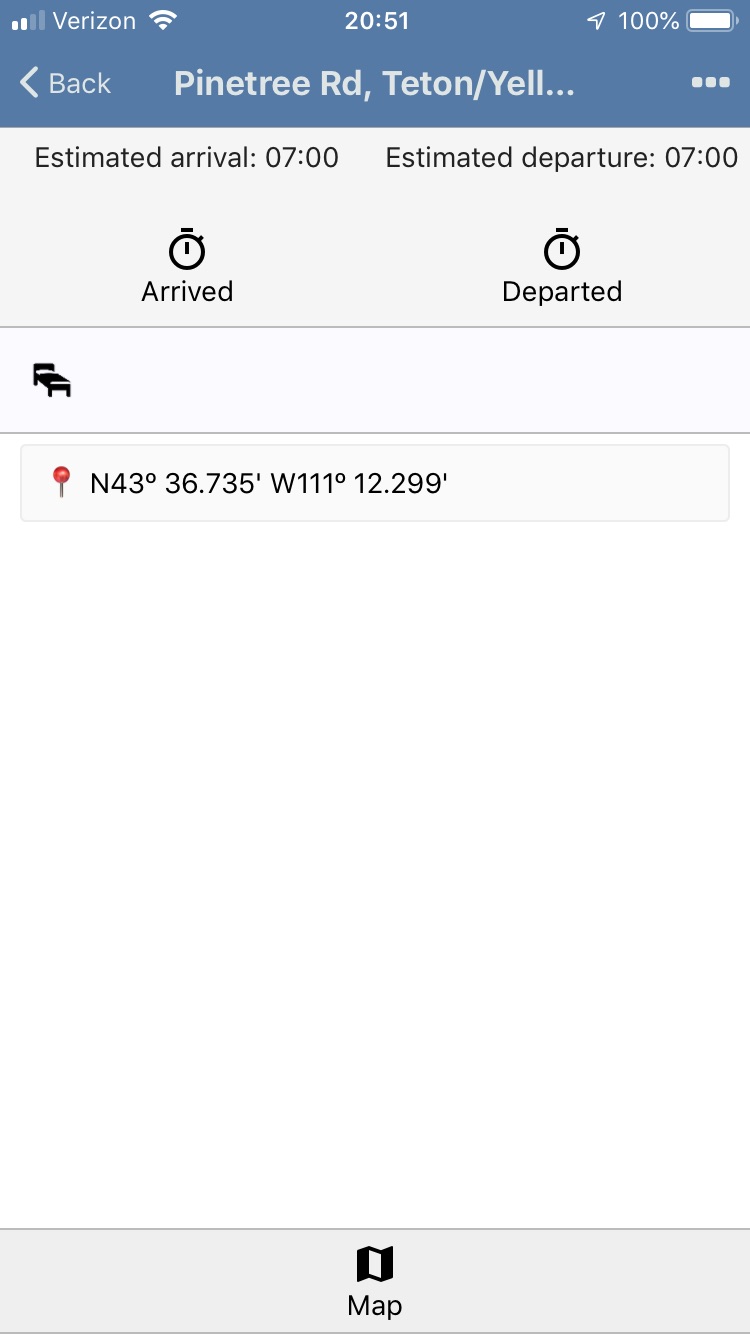
To get started, tap the first entry in your trip to see a detail screen for that entry. In this case, it is lodging so just tap Departed when you leave. This will recompute ETAs for the rest of the day.
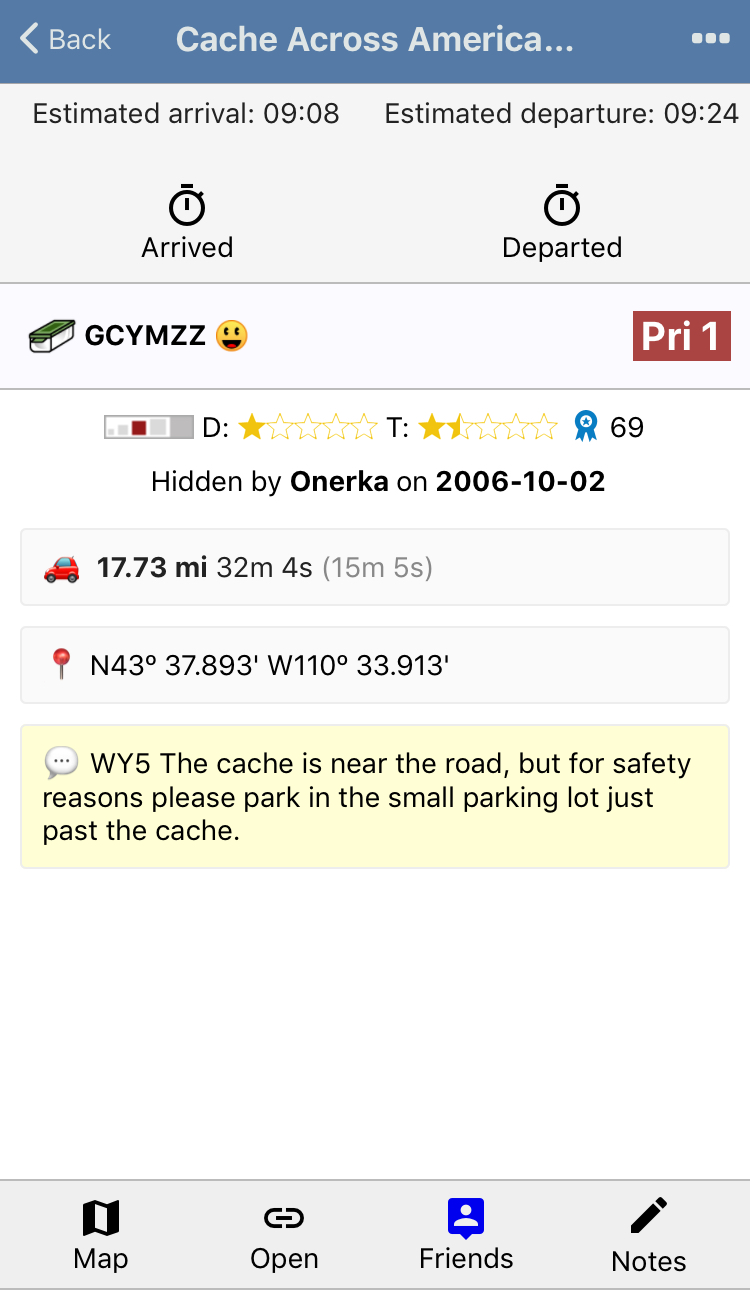
Let’s look at a more interesting detail screen. As always, you can set Arrived and Departed times. There are cache details like name, priority, Size, D/T, and favorites. Below that is drive time and estimated time at cache. The coordinates are shown and can be copied to the clipboard by tapping. If there was a hint, it would appear next and finally, the comment made in cachetur.no for the way point is shown. It includes print description (if you chose to include that).
The bottom of the screen provides the Map, Open, Friends, and Notes.
You will typically want to navigate to the cache first. The Map action opens a navigation app (Google Maps, Apple Maps, Waze) so you can do the navigation phase. Note that a long press on the Map action allows you to choose a default Map application from those you have installed. Once set, it will be used on later short taps.
The Open action lets you go to your chosen caching application (c:geo, Cachly, Geocaching app, geocaching.com, cachetur.no). The choices available are determined by which ones you have installed. As with the Map, a long press lets you select a default caching application to open on a short tap.
Friends shows friends who have logged this cache.
Notes lets you record information you might want for later logging including action (DNF, Unattempted, Skipped, etc.), you can record whether you took a photo, want to favorite it, needs maintenance and if you are in a group on the cachetur trip, whether your information is visible to all the group participants. Then you can make general notes about your experience. Later you can upload all this from a menu item on the trip page and work with it in the cachetur.no Post Trip Assistant on the web site.
Checklists
The trip assistant offers a number of checklists relevant to a trip. Like trips, you can download standard checklists that you find relevant. Several of the checklists have two version: a one use one and a savable one so you can later look at what you entered. The checklists are keyed to the general workflow of a trip.
Pre-departure checklist (things to do before leaving home like download GPX, etc.)
Rental vehicle pickup (check for damage, record mileage, reset trip counters, etc)
Rental vehicle pickup (savable) adds more info (make/model, registration, fuel type,...)
Hotel Arrival (breakfast hours, checkout time, wifi details, inspect room, set up charging stations)
Hotel departure checklist (to make sure you don’t leave anything)
Rental vehicle return checklist (time, mileage, remove all gear, etc.)
From the Trip screen you can choose checklists for just that trip. E.g., the hotel will often vary by day. The same screen offers a menu option to upload all notes and checklists.
Custom Checklists
You can create your own checklists on the cachetur.no web site. For example, you might want your trip packing list to be one.
Go to Tips/template->Checklists and tap “New Checklist”. Then you can set a name, type (single use or savable), a category and if it is associated with a group. Then you can proceed to add fields to your checklist. Fields can be Yes/No, text, number, title, or multi-line text. After adding an element, tap Add Element to add another one until you are done. Your custom lists will show up when you are downloading checklists.
Trip ETA
Cachetur.no can compute ETA for each cache in your trip based on a starting time you designate. Those times will show up when you download the trip into the Trip Assistant. As you progress through your trip and enter Arrived and/or Departed times for each way point, the ETA for the remaining way points will be computed and a message at the bottom of the screen will tell you if you are ahead of schedule, behind schedule or about on time. There is an option to speak the schedule status that you can turn on.
In the real world, your start time for the day often does not match what you planned (running late, breakfast not available until 08:00, etc). To correct for this, tap … and select the “Clear all ETA overrides). This will erase all the ETA values you manually put into the trip. Then when you depart the first way point, tap Departed and establish a new start time for computing the remaining ETAs for the day.
Notes
When viewing the trip itself, you can select Notes from the … action menu and add a Note for later when you run the Post Trip Assistant. The note can be General, Task Answer or Deviation reflecting something different than expected.These notes support uploading a picture to accompany them along with your note text.
At the level of an individual cache, you can also have Notes. In general, you can note an action like Found, DNF, Skipped and others. You can check off that you took a picture, that you want to favorite it, or that it needs maintenance. These will later guide you in writing a log for the cache. When done, tap Save or Save and upload (if you have data signal).
If you happen to be doing a virtual or an Earth Cache, the … menu offers a chance to upload a picture you can use in supplying task answers later in the Post Trip Assistant.
Other tools
Route Map
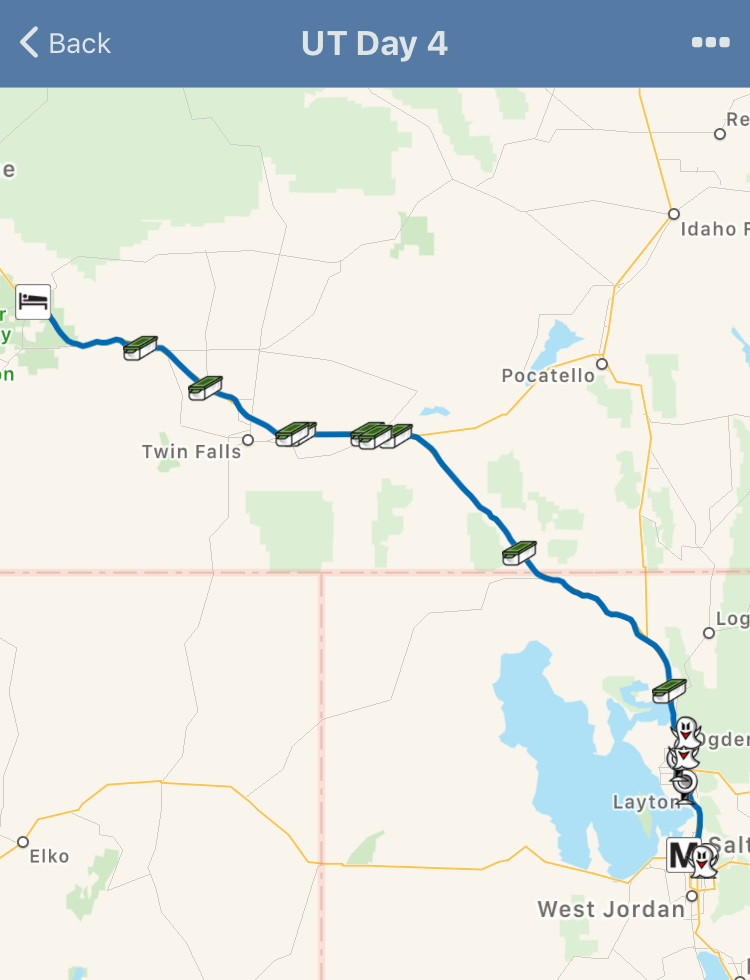
From the Trip page, the … menu offers “Show Map”. This will provide a map with caches in the route and if you have enabled location, you will see a marker of where you are on the map. Once enabled, you have a menu option to toggle “follow location”. With “follow” on, you can see your progress along the route. Tapping a cache icon will show it’s name and a tap on the name field will open it in your default caching app.
Sunrise & Sunset
You may want to know when first light appears at your location or when the Golden Hour is if you are a photographer or just when night arrives so you can go night caching. This has it all.
Friends
If any of your friends have also found the cache, a Friends icon will appear along with the usual Map, Open and Notes. The Friends action will show you a list of all of your friends who have logged it and if yoiu tap their name, will open geocaching.com to their log.
Events
A list of upcoming nearby events. Note: you need to be online for this to work.
RV sites
This will show you nearby RV sites if there are any in the database near you.