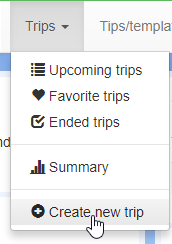
To register a new trip, we go to the meny bar, select trips and "create new trip"
And the create new trip page opens up
 Tip: If you are planning a trip that last for several days, or goes trough multiple countries/counties/states create Subtrips
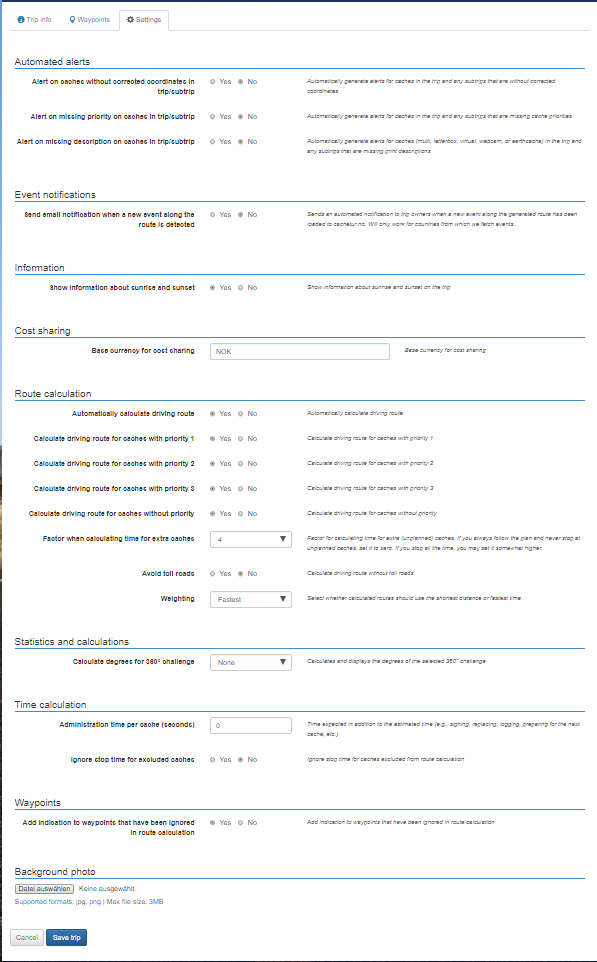
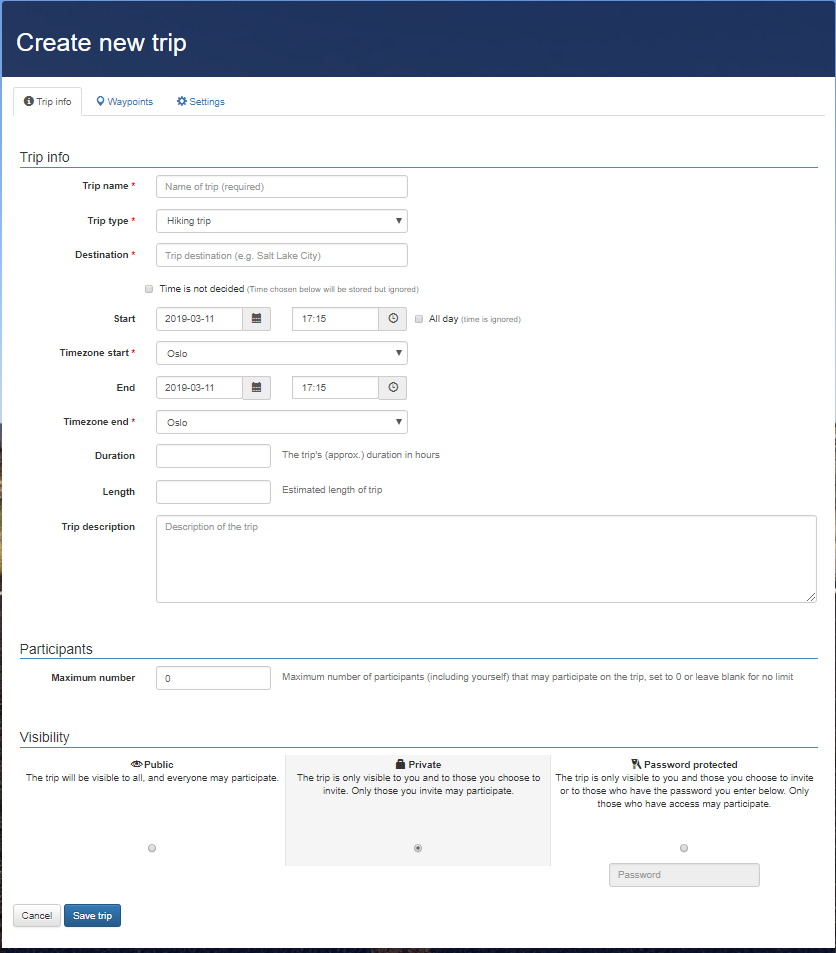 We hope that everything is self explanatory,
- But every trip need a name.
- The trip type is needed for route calculations, and destination to show up in the right area (if the trip is set as public) and also for Norwegian weather forecast.
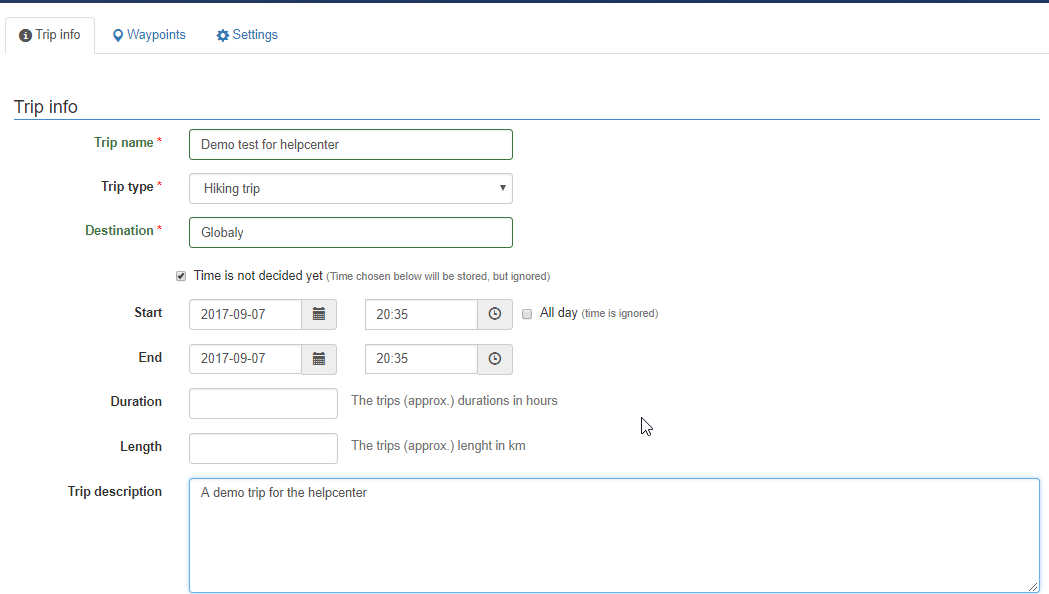
- Every trip need a start and end time, to be displayed in the calendar (if the times havent been decided yet, check the box between destination and start, to make the trip a draft.
(if you put todays date as start and end, and have the trip as draft, plan for a month and then uncheck the draft box, because you're ready without first changing the date, cachetur.no sees an "old" date and automaticaly marks the trip as ended and puts it in your ended trips folder. It can stil "be saved" by cloning it from an ended trip to a new one) - You might want to give the trip a nice description (especially if its a public trip, where you want fellow cachers to join you, let them read about your plans)
- Participants is a field where you can set a maximum number of "spots" on the trip for various reasons
- Visibility and group connections are also explained nicely on the page
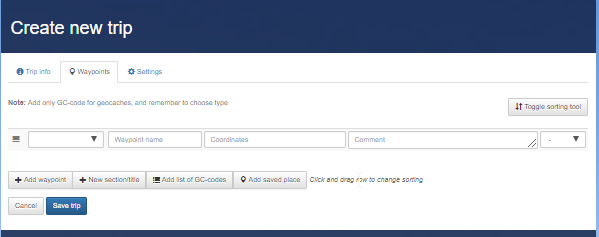
The waypoint section, in here we can "manualy" add waypoints by putting the gc code as the waypoint name.
Once we start to type GC... cachetur.no will know that the waypoint type is a geocache and will retrieve all necessary data from geocaching.com
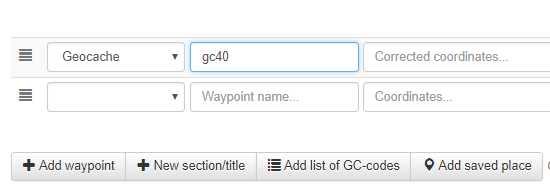
We can also add several other "POI's", on these wee have to manually input the coordinates.

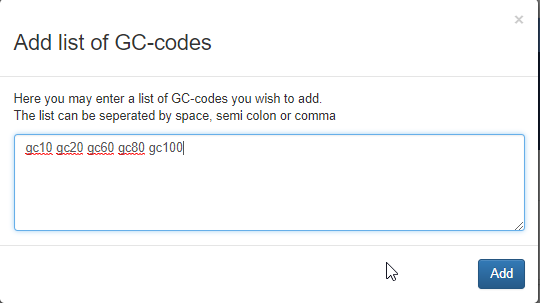
By selecting the "Add list of GC-codes button we may also bulk load caches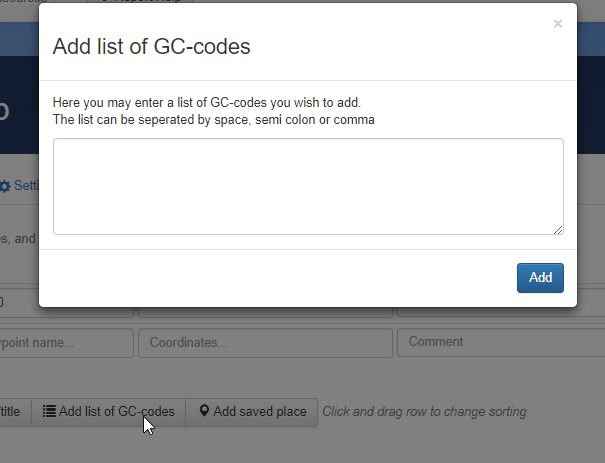
We can set a priority (to help routecalculation)
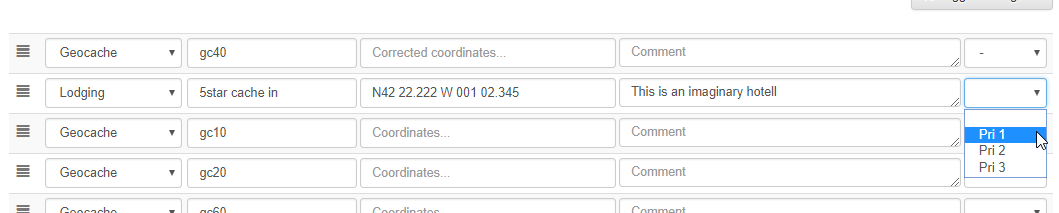
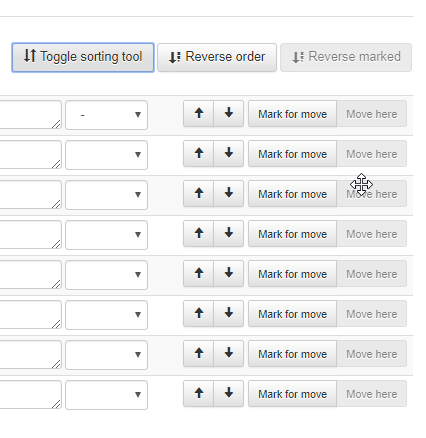
We can use the toggle sorting tool and move caches in a manual order
And when we are done we press Save trip 
And we are than sendt to the trips "main page"

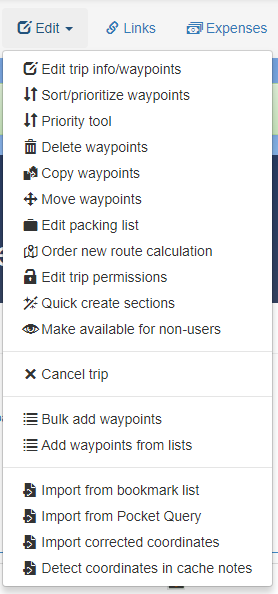
If we didn't add any caches in the waypoints section we have some options in the "Edit trip" menu to import from PQ's and bookmark lists (note: We recommend max 1000 caches pr trip, but the optimal number is much lower than that. Should you have more than 2-300 you should split them into subtrips)
We also have a GSAK macro and a Greasemonkey script to help us add caches to a trip